
 |
| This shows the Franzinator and his neighbor the Swinging Lumber Rack. I've insulated the vessel and the water supply and return lines. The water line is coiled around the vessel inside the insulation. I need to disassemble the whole thing and solder the copper coil to the vessel, now that I know it all works. |
 |
| Here is a little improvement--the air bleed valve that allows the compressor to start without pressure on the head was leaking down the tank over a period of about 24 hours. In order to hold the air better, I added a ball valve so at the end of the day I can shut off the bleed valve. All the power to the shop is on a disconnect so no machinery is powered unless I am there to turn it on (to keep the 5 year old boy's future texting abilities intact). I Just have to remember to open it when I start the compressor again. |
 |
| Here is the little pump head. This was a great find at the surplus store. I got this unit, another larger pump (for the shop air conditioning project forthcoming), a linear actuator (don't know where that fits in, but I see mucho possibilities), and four gas springs (which are very hard to find at a reasonable price--for my adjustable roller table--another story) for 40 bucks. |
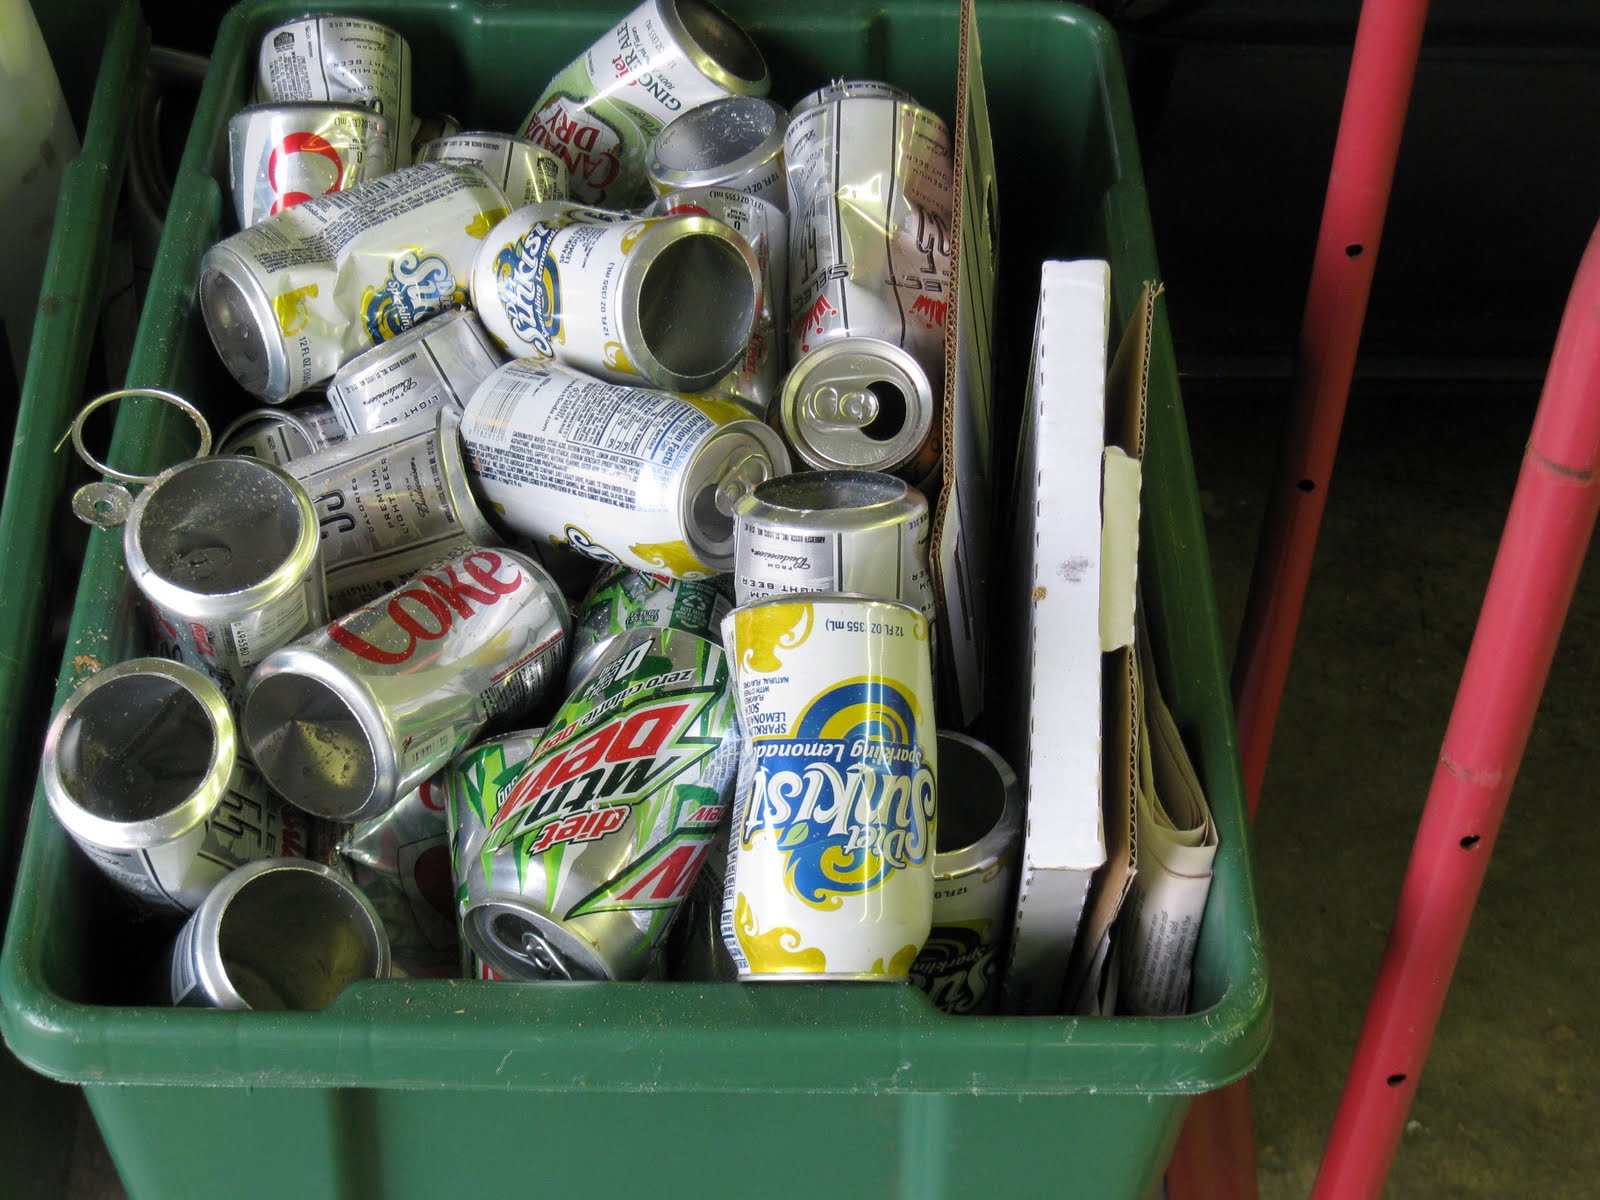 |
| Here is proof that the aluminum cans I used to make the cooling fins for the air intake line were not all beer cans. |
 |
| Here are the cooling fins during installation. |
 |
| A closer look. I drilled a 7/8" hole in the bottom of an aluminum can, then cut the bottom off with the band saw. I split the ring with tin snips to allow it to fit around the air line. In order to get a more snug fit, I used this special made tool to crimp the interior of the ring, thereby making the circumference smaller. |
 |
| Here is the special tool. I made this to crimp the tang on fretwire during the Yoda rebuild. It is a cheap pair of lineman's pliers with a groove and tang milled into the jaws and the lower jaws milled out to allow the pliers to close far enough for the tang and groove to engage |
 |
| Here is the whole shebang assembled. Note the wall switch above the water cooler. I initially had the pump wired to the compressor motor starter to come on whenever the compressor came on. But I decided that I needed more circulation time to cool the vessel, so I put the pump on its own switch so I can pre-cool before I need dry air. The water cooler is wired hot all the time, so it is thermostatically controlled making 45 degree water per its original design. But the main disconnect does disengage it so during long periods (weekdays) away from the shop, I'm not wasting electricity. |
In a crude test using my voltmeter to measure temperatures, I got the following:
Ambient: 69 degrees
Humidity: uncomfortable
Air Line from Compressor into vessel after 10 minute run time: 195 degrees
Air Line from vessel into air tank: 150 degrees
Water pump head after run up: 55 degrees
Water drained from vessel: not measured, but looked to be about 25ml (a guestimate based on my memory from junior high science of what a 50ml graduated cylinder looks like).
So, if my "data" is any indication, I am on the right track. I plan to take more scientific measurements in the future, perhaps a before and after when I re-coil the cooling coil after I clean the vessel and solder the coil in place to get proper conduction.
thank you for posting this I would like to see more of your results after further testing
ReplyDeleteRegards Tristan